

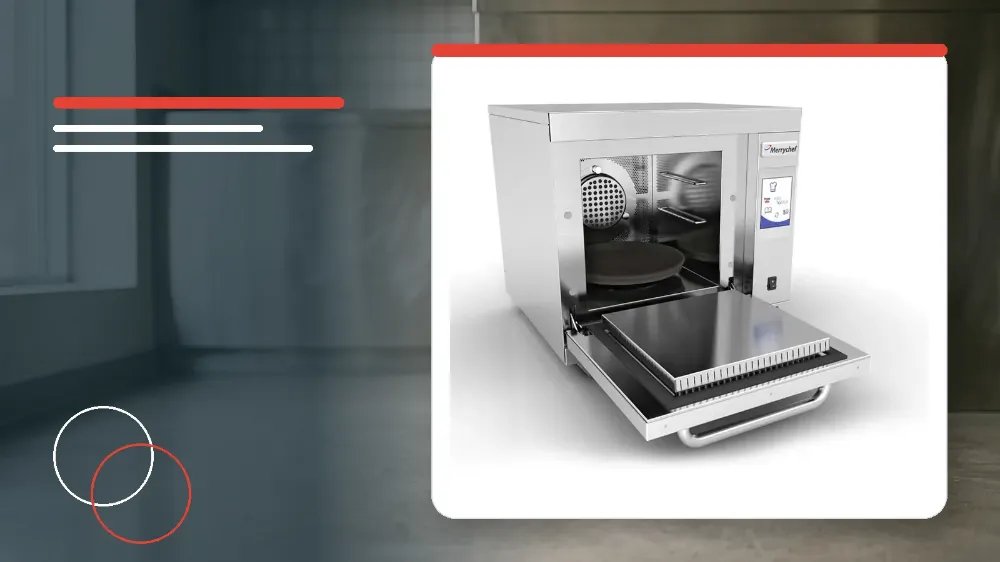
To clean the Merrychef eikon e3 safely each day, run the automated cool-down cycle using a container of ice or cold water, switch off the unit, wash the air filter and removable turntable components in warm soapy water, scrub the cavity with approved Merrychef cleaner and non-abrasive pads, and cure Merrychef protector on internal surfaces before resuming service.
Applies to
This daily cleaning and maintenance procedure applies specifically to trained operators maintaining the Merrychef eikon e3 accelerated cooking oven.
Before you start
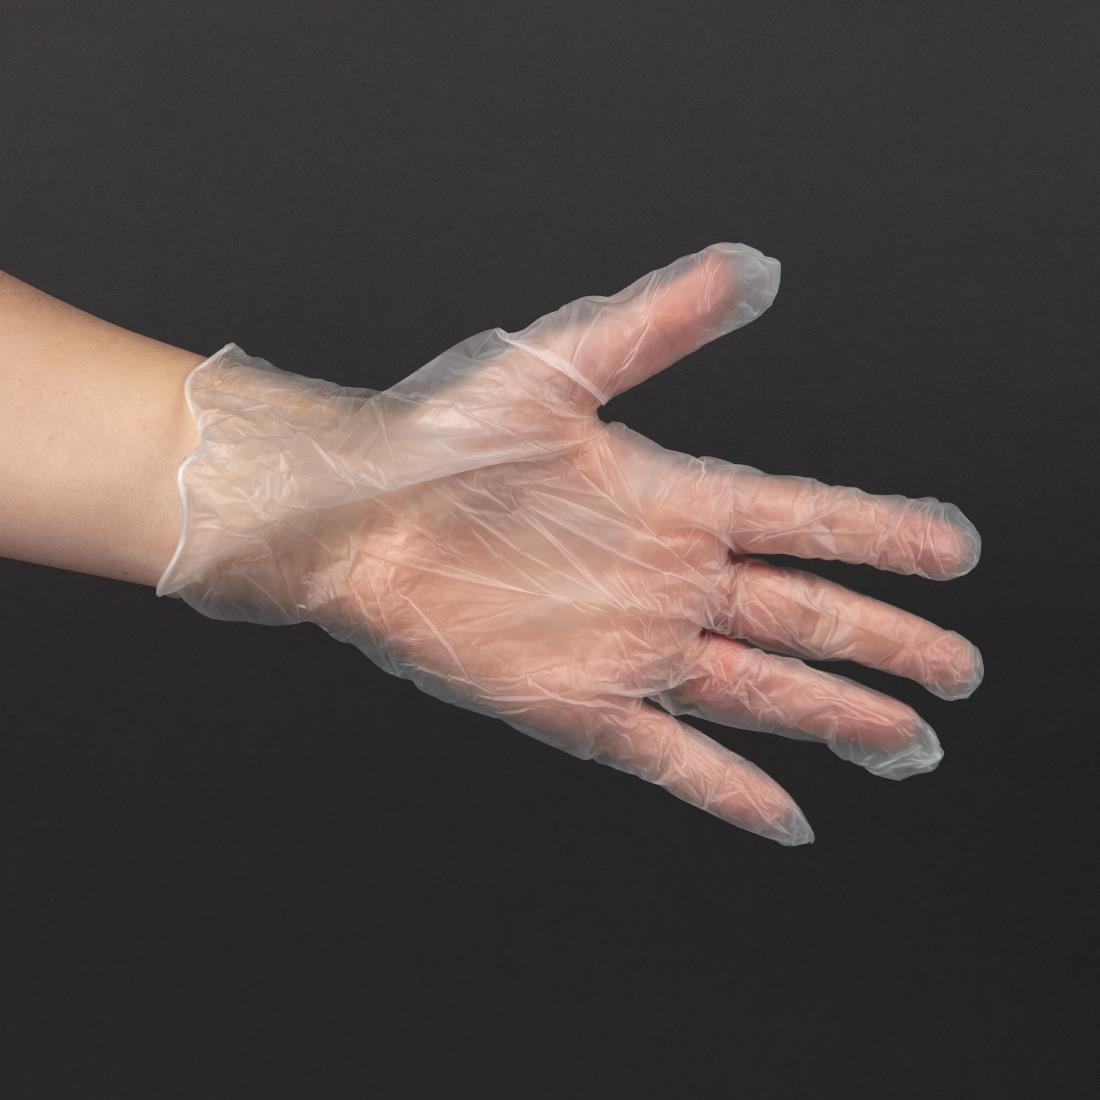
- Verify that all required cleaning equipment is gathered before starting, including Merrychef approved oven cleaner, Merrychef approved oven protector, heat-proof gloves, protective rubber gloves, eye protection, non-abrasive nylon scrub pads, and clean cloths or paper towels.
- An optional dust mask may also be selected for personal protection during the cleaning preparation.
- Ensure that the oven undergoes a full cool-down cycle and cools completely before any internal components are removed or cleaning begins.
Safety warnings
- Never use caustic chemical cleaners on any part of the oven or cavity because caustic substances cause permanent, irreversible damage to the catalytic converters.
- Always wear heat-proof gloves or use a heavy oven cloth when handling the cool-down pan because the container and water remain hot after the cooling process.
- Always wear protective rubber gloves and protective eyewear when handling chemical cleaning agents inside the oven.
- Never use tools, sharp metal implements, or harsh abrasives on any interior or exterior part of the oven.
- Never operate the Merrychef eikon e3 without a clean, properly installed air filter in place at the base of the machine.
Automated Oven Cool-Down Procedure
The Merrychef eikon e3 requires a dedicated cool-down procedure before daily cleaning to lower the internal cavity temperature safely for operator access.
The automated cool-down routine takes approximately 30 minutes to complete and continues running even if the door is opened during the cycle.
- If operating the oven in Full Serve mode, select the CLEANING symbol directly from the main menu display screen.
- In either Full Serve or Quick Serve mode, select the blue thermometer icon to disable cavity heating and initiate the automated cooling sequence.
- Taking all necessary safety precautions around hot surfaces, place a suitable container filled with ice or cold water directly into the hot oven cavity to accelerate the cooling process.
- Select the OK symbol on the touchscreen controller to confirm placement and begin monitoring the displayed cooling progress.
- Once the cooling process finishes, carefully remove the cool-down container using an oven cloth or heat-proof gloves because the container and water may be hot.
Removing and Washing the Turntable and External Filter
Daily maintenance requires dismantling the internal turntable system and base filtration to ensure unrestricted air movement and maintain hygienic food contact standards.
Every removed component must be thoroughly washed, rinsed, and dried before being placed back into the appliance cavity.
- Switch off the oven completely before starting component disassembly.
- Pull out and remove the washable air filter located at the base of the oven.
- Open the oven door and carefully lift out the turntable tray along with the turntable disc.
- For models equipped with a catalytic converter, undo the rear fasteners to extract the catalytic converter whenever required or at least once per month.
- Wash all removed components in warm soapy water using non-abrasive cleaning pads.
- Rinse all cleaned components thoroughly with plenty of clean, warm water to eliminate soap residue.
- Dry all parts completely using a fresh, clean cloth before refitting them into the appliance.
Daily Oven Cavity and Exterior Cleaning
Proper cavity cleaning preserves internal cooking efficiency and prevents grease carbonisation across heating surfaces.
Operators must avoid spraying chemical cleaners directly into the rear fan opening or scrubbing the delicate door seal.
- Wipe away loose liquid spillages using a suitable cloth or paper towel.
- Use a dry, clean brush to dislodge food particles resting between the bottom oven floor and the inside edge of the front door.
- Put on protective rubber gloves and safety glasses in accordance with manufacturer recommendations.
- Carefully spray Merrychef approved oven cleaner onto all interior surfaces, strictly avoiding contact with the door seal and keeping spray away from the rear fan opening.
- Allow difficult, burnt-on deposits to soak for 10 minutes with the oven door fully open.
- Scrub the cavity walls, internal roof, and inside door face using a non-abrasive nylon scrub pad or sponge, ensuring no metallic scourers or tools are used on any part.
- Wash off chemical residues using a clean cloth soaked in plenty of clean warm water, then dry the entire interior thoroughly with clean cloths or paper towels.
- Reinstall all clean, completely dry oven components back into their operational positions.
- Close the appliance door and wipe down the exterior casing using a damp cloth.
- Press the green check mark on the screen interface to confirm the cleaning procedure.
Applying and Curing Merrychef Oven Protector
Applying Merrychef approved oven protector creates a protective barrier that simplifies subsequent cleaning routines and shields metal surfaces against residue buildup.
The protective barrier requires an active thermal curing cycle inside the oven at operating temperature to bond effectively to internal surfaces.
- Apply protector chemical only to a thoroughly cleaned and dried oven interior.
- Spray the Merrychef approved oven protector directly onto a clean application sponge.
- Spread the protector solution lightly over internal cavity surfaces while avoiding the door seal, active cooking surfaces, fan inlets, and fan outlets.
- Close the oven door and switch on the main power to the machine.
- If the touchscreen interface displays an air filter warning, refit the clean air filter securely at the base and press the green check mark.
- Preheat the oven to its standard operating temperature.
- Maintain operating temperature for approximately 30 minutes to cure the protective coating until it turns a light brown shade.
Stop and get help if
- Stop immediately and do not apply chemicals if the cleaner is caustic, as caustic chemicals permanently destroy catalytic converters.
- Halt cleaning and do not use scraping tools, sharp implements, or metallic scouring pads on any part of the oven.
- Do not operate or preheat the oven if the air filter is missing, unwashed, or improperly fitted at the base.