
Trained operators must complete the full cool-down sequence, switch off the appliance, and allow the cavity and all internal accessories to cool completely before removing parts or applying approved chemicals.
Applies to
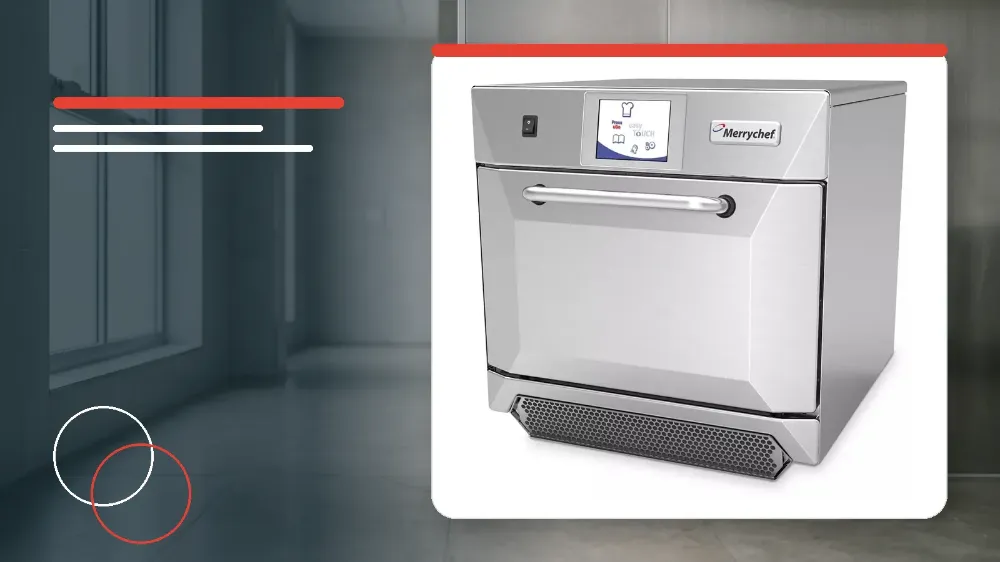
This procedure applies specifically to the Merrychef E4 high-speed combination oven.
Before you start
- You must complete the full cool-down procedure before commencing any cleaning tasks.
- Allow the oven cavity and all internal accessories to cool thoroughly before touching them.
- Switch off the oven before removing any internal components or air filters.
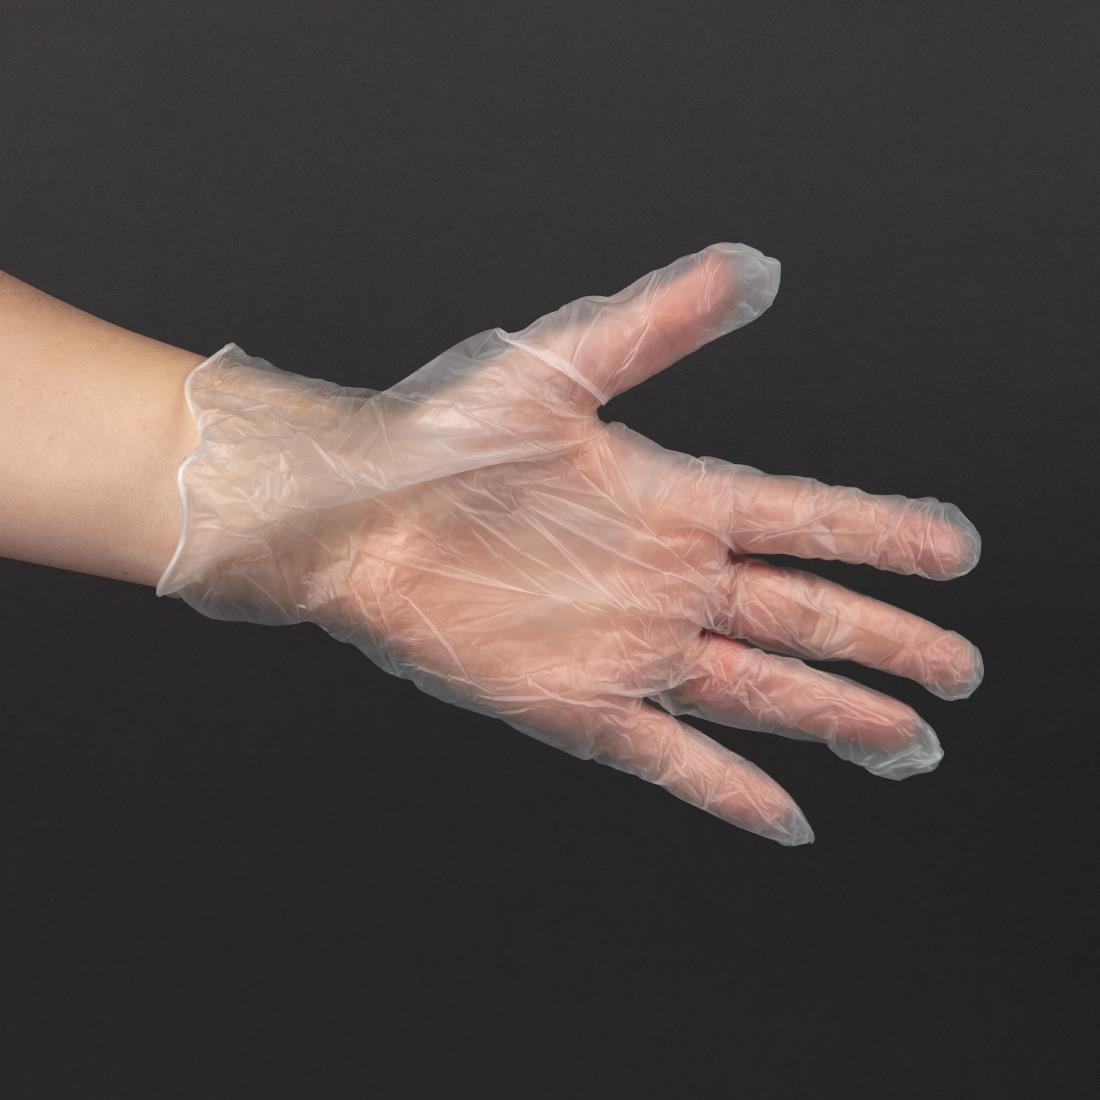
- Wear protective rubber gloves and protective safety glasses following the chemical manufacturer recommendations.
- Ensure you have Merrychef approved oven cleaner, Merrychef approved oven protector, clean cloths, warm soapy water, and a non-abrasive nylon scrub sponge ready.
Safety warnings
- Never use tools to remove components or clean the oven.
- Never use sharp implements or harsh abrasives on any part of the oven.
- Do not use metallic scourers on the oven cavity or roof.
- Never spray oven cleaner directly into the fan opening located at the rear inside of the oven.
- Do not spray oven cleaner onto the door seal.
- Do not scrub the door seal with abrasive pads or sponges.
- Do not operate the oven without a clean air filter fitted in place.
1. Cool-Down and Safe Preparation
Commercial kitchen personnel must ensure the unit has finished its cool-down sequence before opening the oven for daily maintenance.
Cleaning a hot cavity poses thermal risks and alters chemical performance.
Switch off the unit completely once the cool-down procedure has concluded.
- Run and complete the official cool-down procedure on the oven controller.
- Allow the oven cavity, interior surfaces, and all accessories to cool down fully.
- Switch off the oven prior to handling any internal hardware.
2. Removing Removable Oven Components
The Merrychef E4 features operator-removable components that require separate washing and degreasing.
No external hand tools or mechanical implements should ever be used to release these components.
- Remove the air filter situated at the base of the oven.
- Open the oven door and lift out the grease filter assembly located at the rear of the cavity.
- Undo the two thumb nuts located at the top of the cavity to remove the upper impinger plate.
- Remove the lower impinger plate and the wire rack from the cavity.
3. Washing and Drying Removable Parts
All removed assemblies must be properly degreased and rinsed before returning them to the appliance.
Ensure that every individual component is completely dry prior to reinstallation.
- Wash all removed components thoroughly in warm soapy water.
- Rinse off the soapy water using a clean cloth and plenty of clean, warm water.
- Dry all parts completely using a fresh, clean cloth before refitting.
4. Cavity Cleaning and Chemical Application
Operators must use personal protective equipment before spraying approved chemical agents inside the cavity.
Loose food particles and gross debris should be cleared from the cavity base before applying chemicals.
- Remove any loose spillages using a suitable cloth or paper towel.
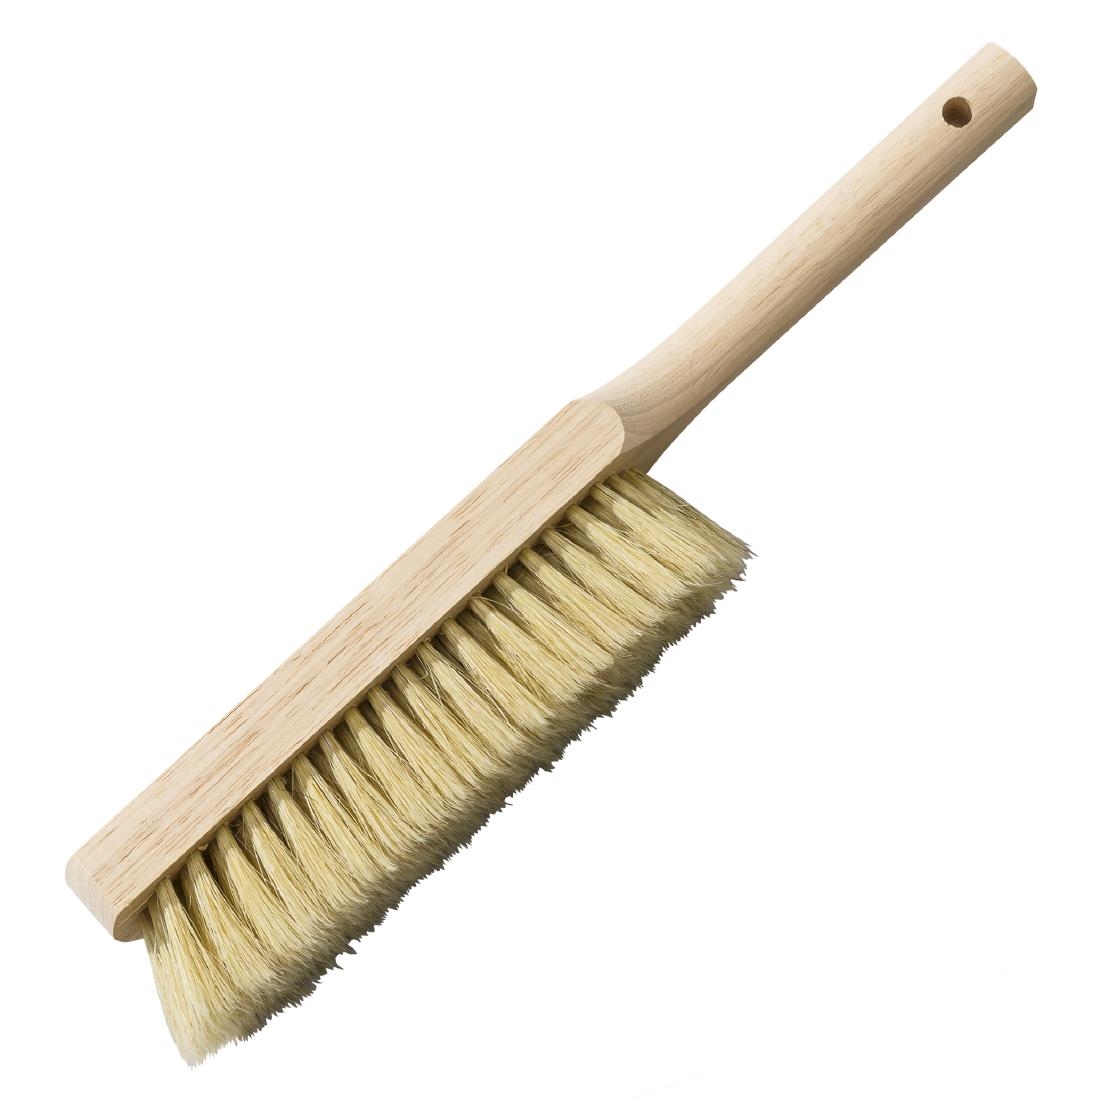
- Use a dry, clean brush to clear food particles from between the oven floor and the inside of the front door.
- Put on protective rubber gloves and protective safety glasses.
- Carefully spray Merrychef approved oven cleaner onto all internal surfaces except the door seal.
- Avoid spraying chemical cleaner directly into the fan opening at the rear inside of the cavity.
- For difficult burnt-on deposits, leave the cleaner to soak for 10 minutes with the oven door open.
- Clean the cavity walls, cavity roof, and inside door face with a non-abrasive nylon scrub pad or sponge.
- Do not scrub the delicate door seal or use any metallic scouring pads.
5. Rinsing, Exterior Care, and Reassembly
Residual cleaning chemicals must be completely washed away to prevent chemical vapour buildup during subsequent cooking cycles.
The outer casing requires gentle surface wiping with a damp cloth.
- Wash off cavity cleaner using a clean cloth and plenty of clean warm water.
- Dry the internal cavity surfaces thoroughly using a fresh clean cloth or paper towel.
- Reinstall all clean, completely dry oven components into their respective positions.
- Close the oven door and wipe down the exterior surfaces of the appliance using a damp cloth.
- Press the green check mark on the touch screen interface to confirm cleaning completion.
6. Applying and Curing Oven Protector
Applying an approved protective coating reduces future grease adhesion and simplifies subsequent cold cleaning cycles.
The protective agent must only be applied to an already clean, dry cavity.
- Spray a Merrychef approved oven protector directly onto a clean sponge.
- Spread the protector lightly onto all internal cavity surfaces, avoiding the door seal, cooking surfaces, fan inlets, and fan outlets.
- Close the oven door and switch on the oven.
- If the touch screen displays a warning that the air filter has not been replaced, refit the clean air filter at the base and press the green check mark.
- Preheat the oven to its operating temperature.
- Allow the appliance to run for about 30 minutes at operating temperature to cure the oven protector completely.
- Observe that the cured oven protector turns light brown across the treated metal surfaces.
Stop and get help if
- Stop immediately if the oven and internal accessories have not finished the cool-down procedure.
- Stop cleaning if protective rubber gloves or protective safety glasses are not available.
- Do not operate or preheat the oven if the air filter is missing, unclean, or not properly installed.