








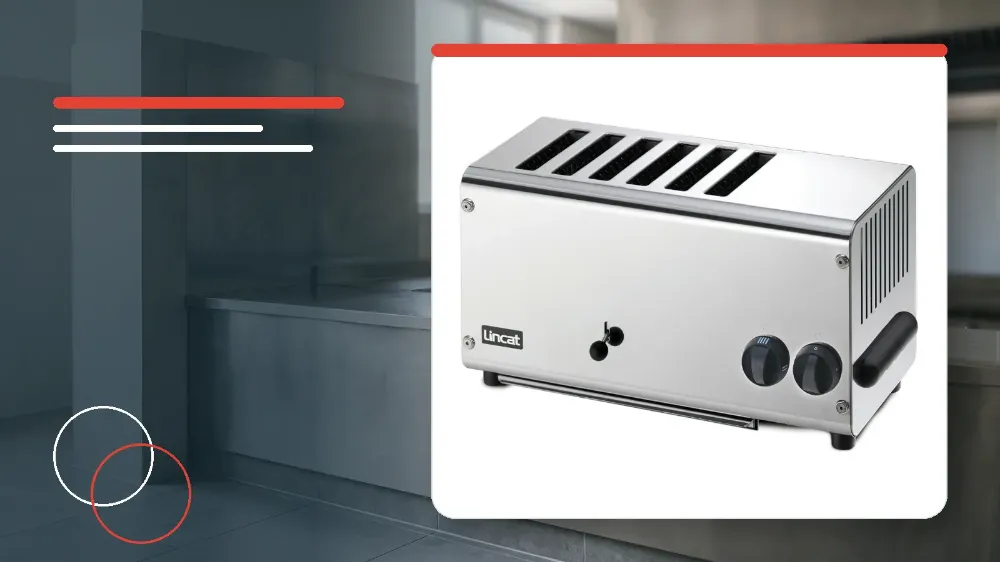
Trained staff must prepare the Lincat LT6X by peeling protective plastic, setting the timer to off, plugging into the mains, selecting all slots, and running two consecutive four-minute empty burn-off cycles before loading bread.
Applies to
This guide applies specifically to commercial kitchen staff operating the Lincat LT6X six-slot electric counter-top toaster.
Before you start
- Only qualified or trained personnel should use this commercial appliance.
- Ensure that the toaster has been installed and commissioned by a qualified person in accordance with all national and local regulations.
- Strip all protective plastic coating and clean the appliance before initial use.
- Ensure that the electrical plug and socket remain accessible at all times during operation.
Safety warnings
- During operation parts of the toaster may become hot, so accidental contact must be avoided.
- Do not use a water jet or steam cleaner, and do not immerse this appliance in water.
- Always disconnect this appliance from the electrical supply before carrying out any servicing, maintenance, or cleaning.
First-Use Empty Commissioning Cycles
Before toasting food for the first time, operators must perform a burn-off procedure to commission the internal heating elements.
This procedure ensures all element surfaces are brought up to temperature across two full cycles without bread in the slots.
- Set the timer control (A) to the Off position.
- Connect the appliance to the electrical supply while ensuring the plug remains accessible.
- Set the rotary slot selector (B) to the maximum number of slots.
- Turn the timer control (A) to 4 minutes and allow the toaster to complete the cycle without any product inside the slots.
- Repeat the 4-minute empty cycle once more to finish conditioning the elements.
Standard Toasting Procedure
Once both empty burn-off cycles are completed, the LT6X toaster is ready for normal commercial toasting service.
Slot numbering on this appliance is configured with slot 1 located on the far left-hand side.
The heating elements switch off automatically when the timer reaches the end of the selected time.
- Select the required number of active slots using selector switch (B), noting that slot 1 starts from the left.
- Ensure the lift lever (C) is in the down position before loading bread slices into the selected slots.
- Raise the lift lever (C) to lower the bread into the toasting cavity.
- Select the required toasting time using timer control knob (A).
- Avoid lifting the bread during the toast cycle to prevent the product from sticking to the element guards.
- When the timer elapses and the elements switch off automatically, remove the toast by lowering the toast lift lever (C).
Operator Cleaning and Routine Upkeep
Regular cleaning keeps the toaster operating efficiently and avoids buildup around external panels and internal guards.
Never use harsh scouring materials or direct water jets when maintaining the exterior casing.
- Disconnect the appliance from the mains electricity supply before commencing any cleaning routine.
- Regularly check and empty the crumb tray (D) located at the base of the toaster.
- Clean all exterior panels using warm water and a mild detergent without applying abrasive materials.
- Dry all washed surfaces thoroughly with a soft cloth.
Stop and get help if
- Stop using the toaster immediately if the supply cord is damaged.
- Cease operation and isolate the unit if any internal fault or component breakdown occurs.
When to call an engineer
- Contact the manufacturer, its service agent, or a qualified person if the supply cord requires replacement.
- Arrange for a recommended service engineer to carry out all equipment servicing, maintenance, and internal component replacement.
- Call a qualified person whenever initial installation or formal commissioning is needed.