




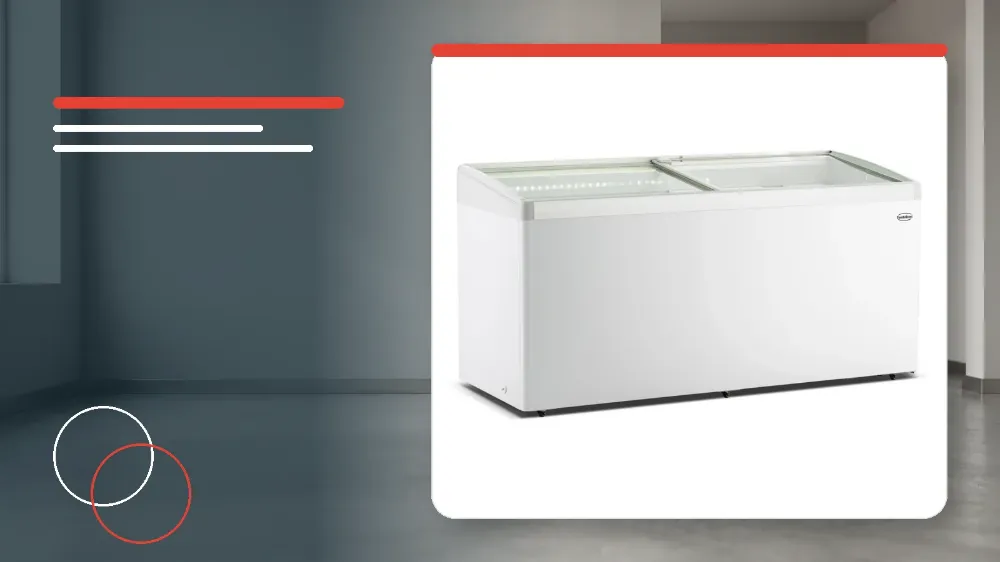
Defrost your Combisteel 7086.0050 chest freezer whenever ice thickness on the inner surface reaches 5 to 7 mm by switching off the unit, unplugging the power lead, taking out all stored goods, opening both internal and external drain plugs, gently scraping softened frost with a dedicated defrosting shovel, wiping the cabinet dry, waiting at least 5 minutes before restoring electrical power, and reloading stock only once the freezer returns to its set operating temperature.
Applies to
This procedure applies directly to trained catering staff operating the Combisteel 7086.0050 glass-lid commercial chest freezer.
Before you start
- Check the inner cabinet surface to verify whether accumulated frost has reached the required 5 to 7 mm threshold.
- Ensure that alternative temperature-controlled storage is ready to hold all frozen stock during the procedure.
- Confirm that a non-metallic, dedicated defrosting shovel is available for scraping softened ice safely.
- Gather soft cleaning cloths along with a neutral cleaning agent, clean warm water, and dilute bleach for the seals.
- Always switch off the unit and unplug the mains plug from the electrical socket before starting any defrosting or cleaning task.
Safety warnings
- Never attempt to remove frost or ice using sharp metal tools or knives, as doing so can puncture or permanently damage the evaporator.
- Never use electrical heating appliances, blow-dryers, or mechanical heat sources inside the cabinet to accelerate defrosting.
- Never wash the interior cabinet or exterior casing with boiling water, abrasive materials, corrosive cleaners, or organic solvents.
- Always observe a minimum pause of 5 minutes before restarting the appliance after switching it off to prevent severe compressor damage.
Recognising When Defrosting Is Required
During regular commercial kitchen service, atmospheric humidity enters the open chest freezer cabinet and gradually condenses onto the cold interior walls.
Frost buildup on the inner evaporator lining forms an insulating barrier that directly restricts heat transfer and decreases overall cooling efficiency.
Operators must monitor the cabinet walls and schedule a complete manual defrost as soon as ice thickness reaches 5 to 7 mm.
Allowing excessive frost beyond 7 mm forces the refrigeration system to run continuously and risks inadequate preservation temperatures.
Step-by-Step Defrosting and Meltwater Drainage
Executing the defrost routine according to the manufacturer sequence protects the internal refrigeration circuit and ensures efficient drainage.
Follow these structured operator steps in exact order to complete the defrosting cycle.
- Switch off the freezer controls, remove the electrical plug completely from the wall outlet, and unload all frozen food products into temporary cold storage.
- Open the sliding glass doors and allow ambient room air to naturally warm and soften the ice layer on the cabinet walls.
- Once the frost softens, carefully scrape the ice away from the internal walls using the designated plastic defrosting shovel.
- Remove the interior drain plug located at the bottom of the cabinet tank to allow liquid water access to the drainage passage.
- Open the outer drain cover positioned on the exterior shell of the freezer so meltwater can flow freely through the drain pipe.
- Position a suitable catchment container beneath the external drain pipe to collect outgoing defrost water cleanly.
- Wipe away every trace of residual meltwater and moisture from the cabinet base, side walls, and corners using dry cloths.
- Securely replace the bottom drain plug inside the freezer and close the drain cover firmly on the outer casing.
Hygiene Maintenance and Cabinet Cleaning
The defrosting interval provides the ideal opportunity to carry out thorough internal and external cabinet sanitisation.
Ensure the appliance remains unplugged from the mains power supply throughout the entire cleaning routine.
Wash both the internal storage liner and external painted panels using soft cloths dampened with warm water and a neutral cleaning detergent.
Never apply boiling water, chemical solvents, scouring powders, or corrosive agents to any part of the chest freezer body.
Disinfect the flexible door gasket by applying household bleach diluted with ten parts water.
Rinse the gasket thoroughly with clean water immediately afterwards to remove all chemical residue and preserve seal pliability.
Safe Restarting and Restocking Protocol
Adhering to compressor protection delays and proper pull-down procedures prevents operational failure and protects food safety.
Whenever power is disconnected or interrupted, you must wait at least 5 minutes before reconnecting the appliance to avoid damaging the compressor.
After confirming the unit has remained unpowered for the mandatory 5-minute interval, plug the power cable into the mains outlet and switch on the unit.
Keep the sliding glass doors closed and allow the refrigeration system to run empty until the interior reaches the preset operating temperature.
Reload all frozen merchandise into the baskets only after the cabinet temperature has successfully reached its required target.
Stop and get help if
- Stop immediately and do not restart the appliance if the evaporator surface shows signs of physical puncture or mechanical damage.
- Stop the defrosting process and leave the unit isolated if the electrical supply cord, plug, or outer housing exhibits physical damage.
- Stop operator intervention if a persistent operating issue cannot be resolved using the specific procedures in the instruction manual.
When to call an engineer
- Contact your authorised equipment dealer if an operational fault or cooling issue cannot be rectified according to the instruction manual.
- Do not attempt to perform complex technical repairs or tamper with internal components yourself under any circumstances.