




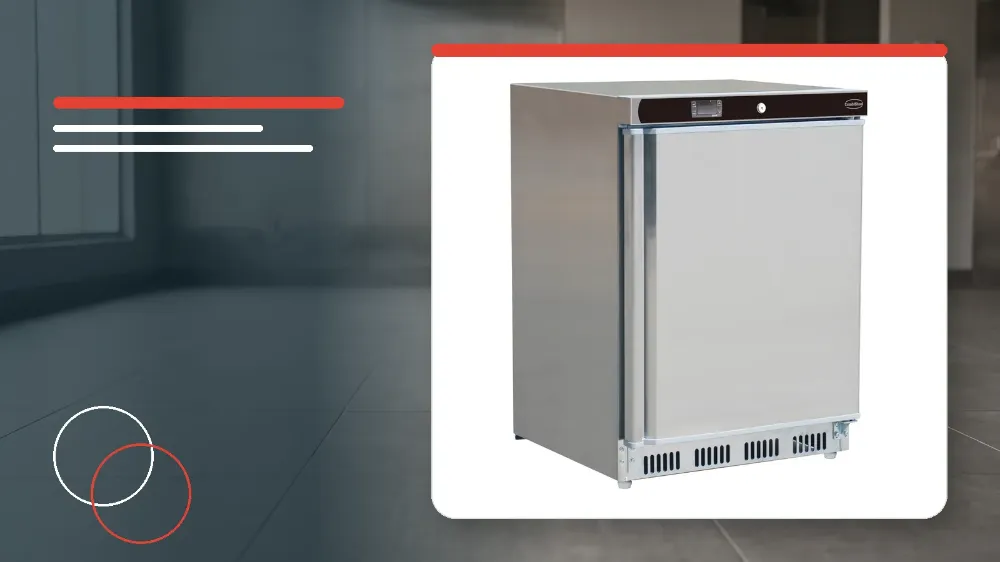
To install and commission your Combisteel 7450.0538 commercial freezer for first-time operation, unpack the appliance, remove all protective film from all surfaces, position the unit on a flat, stable surface maintaining at least 20cm (7 inches) clearance from walls or objects, allow it to stand upright for 12 hours if it was tilted, wash the interior and shelves with soapy water after disconnecting the mains power, plug the unit into a mains supply with the door shut, turn the front control dial from 0 (Off) to a running setting between 1 (Cool) and 7 (Cold), and allow the cabinet to reach its correct operating temperature before loading any food.
Applies to
This setup and commissioning procedure applies strictly to the Combisteel 7450.0538 commercial freezer unit.
Before you start
- Check that the planned commercial kitchen location provides a flat, stable surface capable of supporting the appliance.
- Confirm that you can provide at least 20cm (7 inches) of clearance between the freezer and surrounding walls or fixtures for adequate airflow.
- Ensure that additional clearance is planned if the freezer must be positioned near any kitchen heat source.
- If the freezer was not moved or stored in a strictly upright position, plan to let it stand upright for approximately 12 hours before turning it on.
- Always allow the unit to stand for 12 hours prior to start-up if there is any doubt regarding how it was handled during transit.
Safety warnings
- Keep all ventilation openings in the appliance enclosure or building-in structure completely clear of obstruction.
- Do not damage the refrigerant circuit during transit, positioning, or regular commercial use.
- Do not use mechanical devices or any other unauthorised methods to accelerate the defrosting process.
- Never operate electrical appliances inside the food storage compartments of the freezer unless they are specifically recommended by the manufacturer.
- Always switch off and disconnect the power supply to the unit before carrying out cleaning tasks.
Unpacking and Initial Settling Period
Carefully remove the freezer from all external transport packaging.
Thoroughly peel away all protective plastic films and factory coatings from every external and internal surface of the unit.
If the appliance was not transported or stored in an upright position during delivery, allow it to stand upright for approximately 12 hours prior to operation.
When you are in any doubt about the transport orientation, let the freezer stand upright for the full 12-hour period before connecting it to power.
- Take the freezer out of its shipping packaging.
- Peel and remove all plastic protective films and surface coatings entirely from the appliance.
- Leave the unit resting upright for approximately 12 hours if it was tilted or if its transport handling was uncertain.
Positioning and Ventilation Requirements
Place the freezer onto a flat and stable floor surface in the kitchen area.
Maintain a minimum distance of 20cm (7 inches) between the unit and any adjacent walls or obstacles to ensure correct ventilation.
Increase the separation distance beyond 20cm if the obstacle or adjacent equipment is a heat source.
Verify that all ventilation openings on the appliance enclosure or surrounding structure remain totally unobstructed at all times.
- Position the freezer on a stable, flat surface.
- Measure and maintain at least 20cm (7 inches) of open clearance between the cabinet and any surrounding walls or items.
- Increase this clearance spacing further if the freezer is positioned adjacent to cooking equipment or another heat source.
- Confirm that all ventilation grilles and openings are clear of blockages.
Pre-Use Cleaning
Always ensure the freezer is switched off and disconnected from its power supply before beginning any cleaning procedure.
Before putting the appliance into service for the first time, clean the internal shelves and the interior cabinet surfaces with soapy water.
- Verify that the appliance is switched off and completely disconnected from the mains electricity supply.
- Clean all internal storage shelves and the interior lining using soapy water before first use.
Initial Start-Up, Temperature Adjustment, and Food Loading
The control panel for the freezer is located on the front of the appliance.
To turn on the unit, first close the appliance door completely.
Connect the power cord of the appliance securely to a mains power supply.
Adjust the front temperature dial to your desired setting, selecting from 0 (Off), 1 (Cool), up to 7 (Cold).
Do not load any foodstuffs into the freezer until the cabinet has fully reached its correct operating temperature.
Only place food items inside the cabinet once the operating temperature has been reached.
- Close the door of the freezer securely.
- Plug the appliance into the mains electrical supply.
- Locate the front control panel and rotate the temperature dial from 0 (Off) to the desired setting between 1 (Cool) and 7 (Cold).
- Allow the internal cabinet to chill until it reaches the correct operating temperature before placing foodstuffs inside.
Stop and get help if
- Stop using the freezer immediately and disconnect power if the refrigerant circuit is punctured or damaged.
When to call an engineer
- Call a qualified technician or refrigeration engineer if the refrigerant circuit suffers damage.