

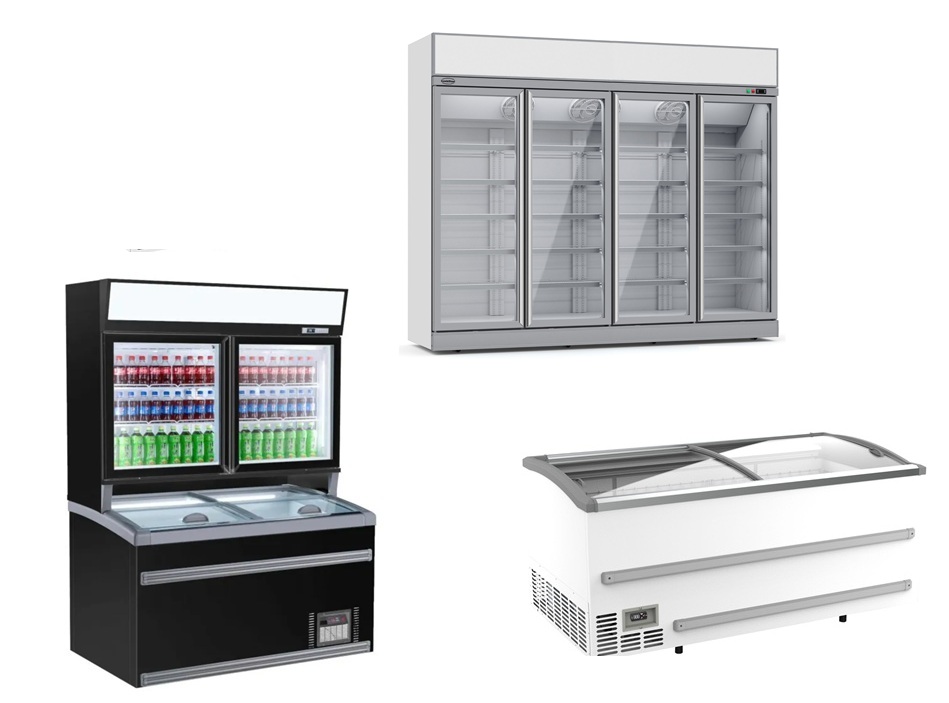


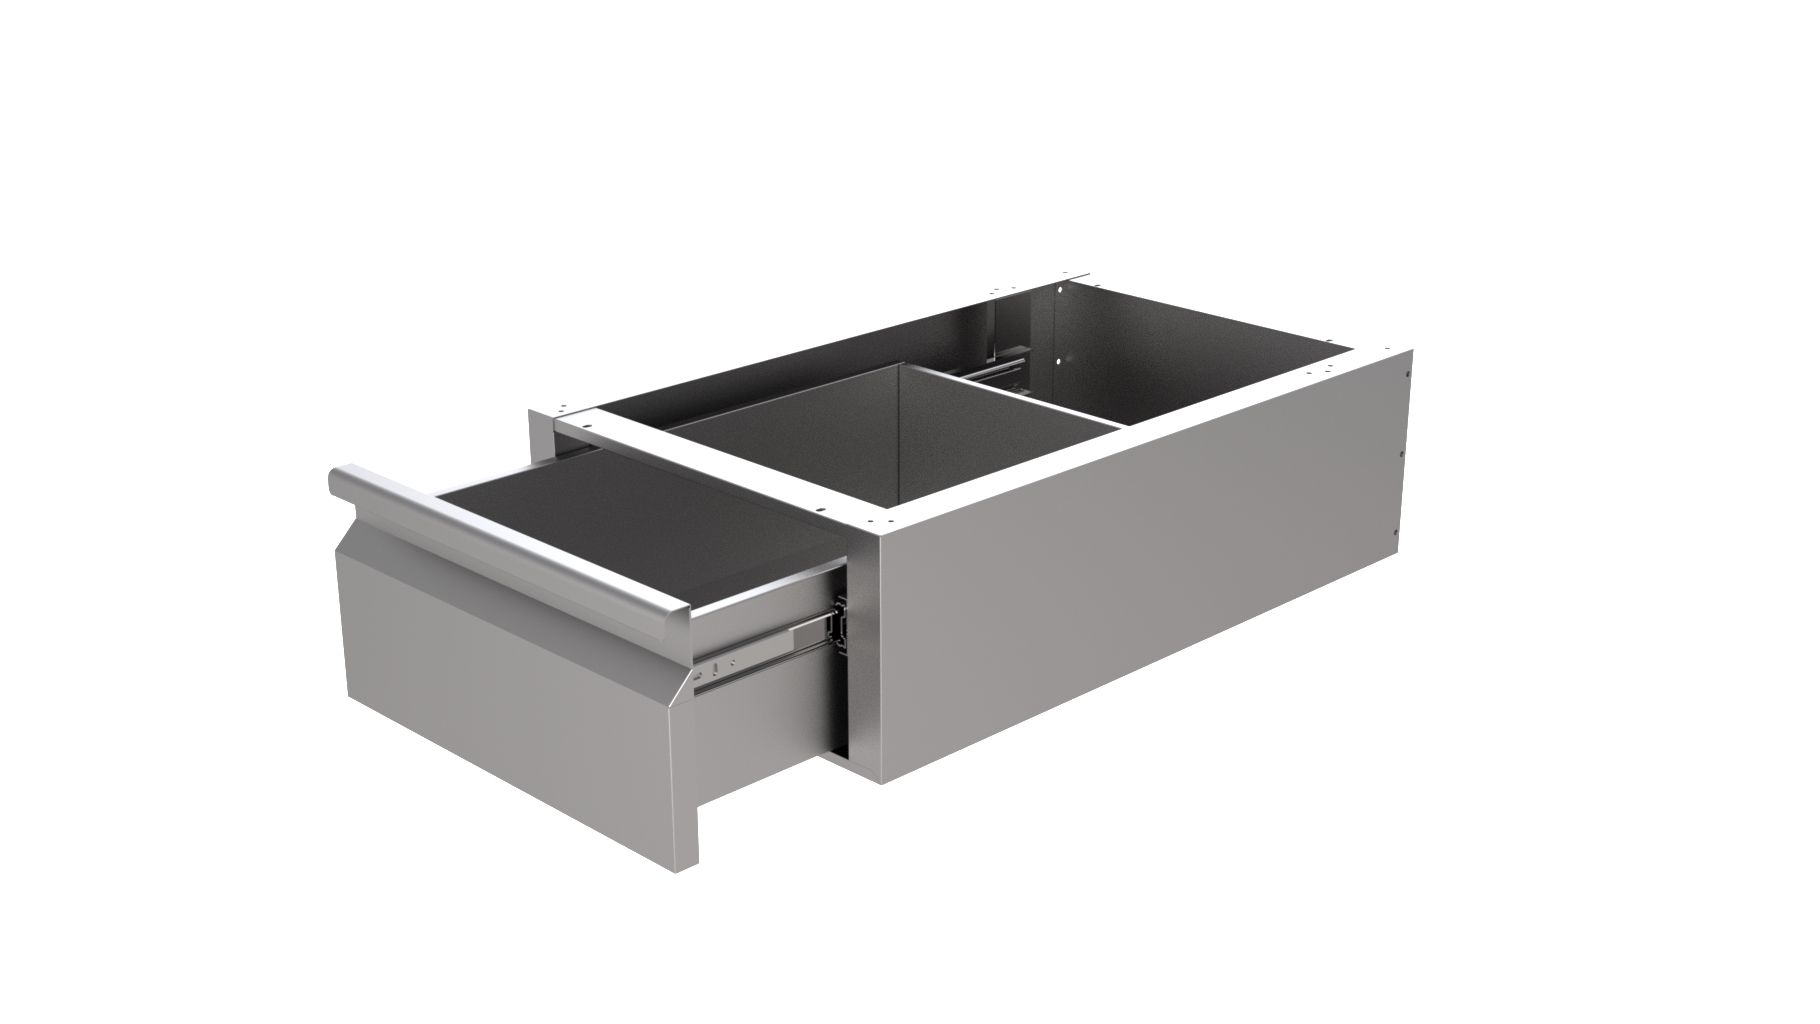
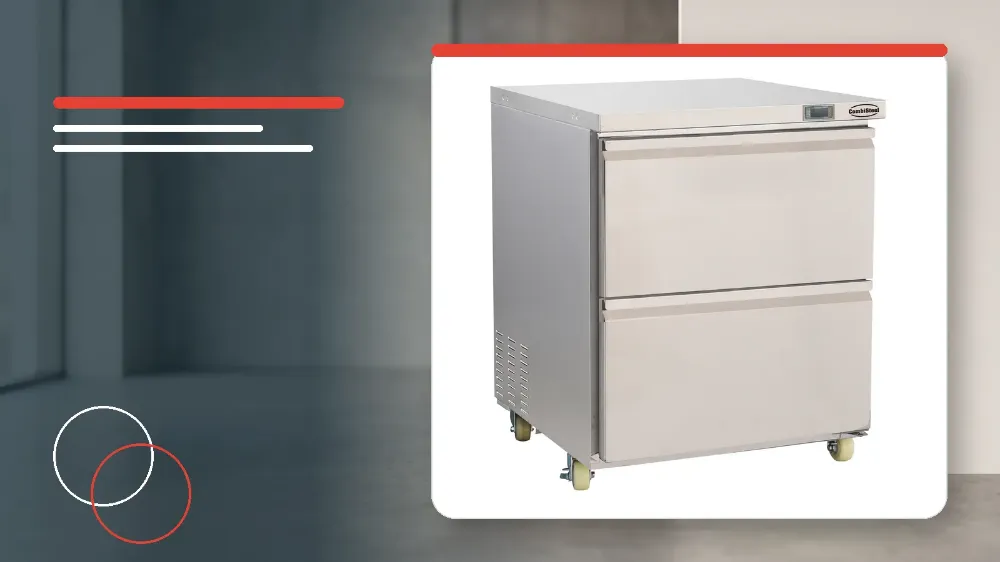
To maintain the Combisteel 7450.0265 freezer, disconnect the power supply, clean the condenser coil every 30 to 90 days using a brush, vacuum, or compressed air without high-pressure water, wash the stainless steel along the grain with non-chloride alkaline or mild soapy cleaners, and wash or press-fit dart-style gaskets using warm soapy water.
Applies to
This guide applies specifically to preventative cabinet, coil, gasket, and drain maintenance for the Combisteel 7450.0265 commercial freezer.
Before you start
- The power switch must be turned off and the unit disconnected from the electrical power source before performing any cleaning, servicing, or maintenance tasks.
- Prepare non-abrasive cloths, plastic scouring pads, warm soapy water, and an approved brush, vacuum cleaner, or compressed air supply.
- Ensure that the unit is situated on a level surface to promote proper condensate drainage during and after maintenance.
Safety warnings
- The unit must be switched off and disconnected from the electrical power source prior to performing any cleaning or maintenance work.
- Never use a high-pressure water wash on the condenser coil as water can damage electrical components located at or near the coil.
- Do not use abrasive cleaners, steel pads, wire brushes, scrapers, or acid-based cleaning solutions on stainless steel surfaces.
- Do not use sharp tools, knives, or full-strength chemical cleaners on door gaskets as they cause tearing and embrittlement.
Condenser Coil Cleaning Schedule and Procedures
Regular cleaning of the condenser coil is essential for maintaining proper commercial refrigeration efficiency and equipment longevity.
Cleaning of the condenser coil is recommended every 90 days under normal operating conditions.
In environments where large amounts of debris, dust, or grease accumulate rapidly, the condenser coil must be cleaned every 30 days.
High-pressure water washing must never be used for coil cleaning because it damages electrical components situated near the condenser coil.
- Turn the power switch to the off position and disconnect the freezer from its electrical power supply.
- Inspect the condenser coil to evaluate the level of dust, grease, and debris accumulation across the fin surface.
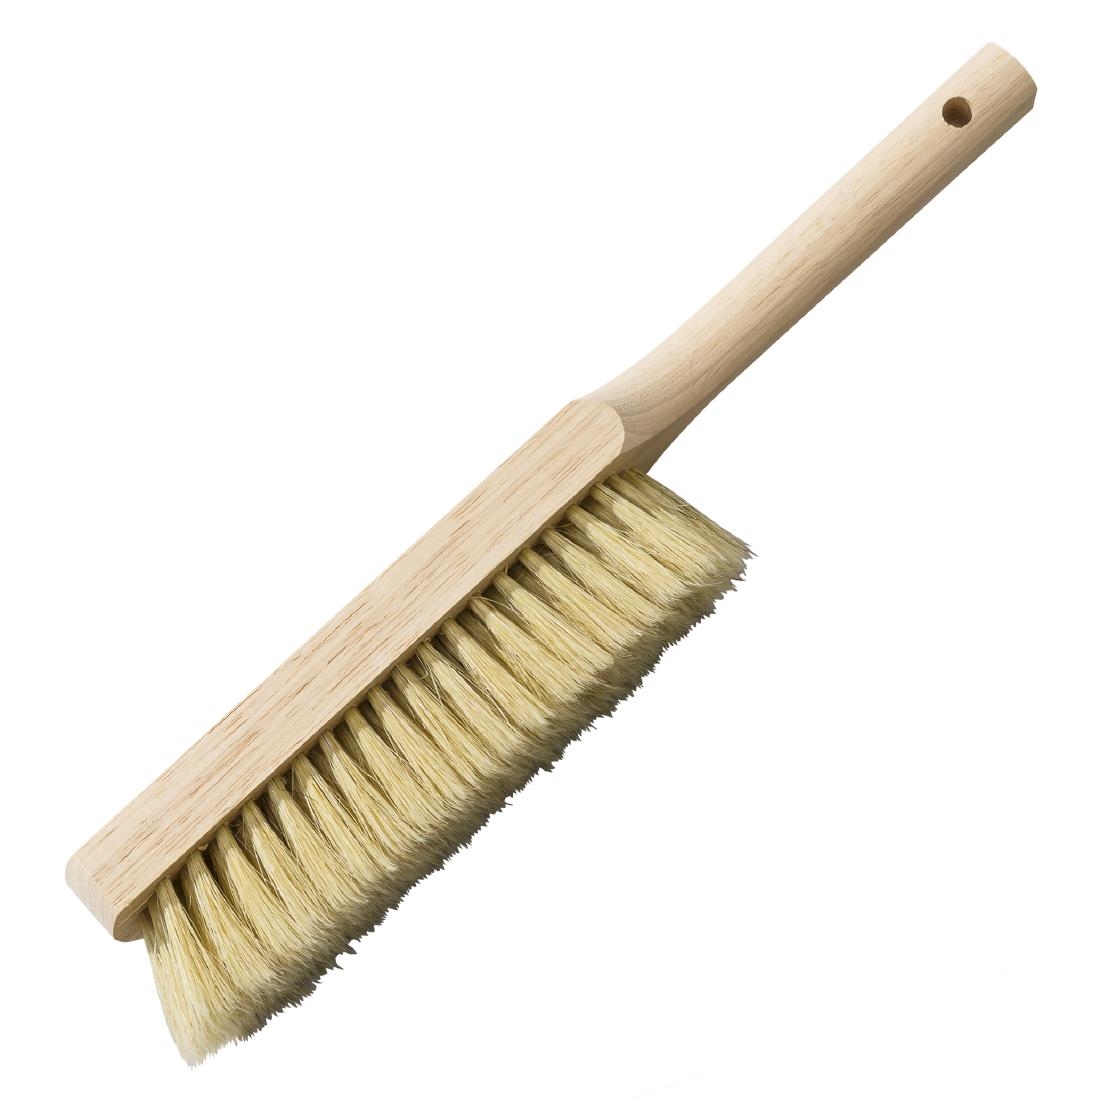
- If the build-up consists of light dust and debris, gently clean the condenser coil using a simple brush.
- If heavier dust accumulation is present, use a vacuum cleaner or compressed air to blow through the condenser coil assembly.
- If heavy grease build-up is encountered, apply refrigeration-specific de-greasing agents and clear the debris with compressed air.
Stainless Steel and Cabinet Surface Care
Interior and exterior cabinet surfaces can be safely cleaned using soap and warm water.
If standard soapy water is insufficient, ammonia mixed with water or a non-abrasive liquid cleaner may be applied.
Abrasive cleaners must never be used because they scratch stainless steel and plastic and cause damage to breaker strips and gaskets.
All cleaning solutions must be alkaline-based or non-chloride-based to prevent compromising the protective film of the metal.
Acid-based cleaning solutions must never be applied to stainless steel components.
- Ensure the appliance remains disconnected from the electrical power source before wiping down cabinet areas.
- Apply warm soapy water or a non-abrasive alkaline cleaning solution using a soft cloth or plastic scouring pad.
- Rub in the direction of the stainless steel grain on exterior panels to avoid marring the finish.
- Avoid using steel pads, wire brushes, or metal scrapers on any part of the cabinet.
- Rinse surfaces thoroughly and dry completely if cleaners containing chlorides have been applied.
Door Gasket Maintenance and Replacement
Clean door gaskets are essential for maintaining a tight thermal seal and preventing frost accumulation.
Gasket cleaning should be carried out using warm soapy water.
Full-strength cleaning chemicals must be avoided on gaskets because they cause the material to become brittle and fail to seal.
Sharp tools and knives must never be used to scrape gaskets as they can tear the seal and rip the bellows.
The unit features Dart-style gaskets that can be replaced by operators without using specialised tools or requiring service technicians.
- Wipe the gasket perimeter using a soft cloth dampened with warm soapy water.
- Inspect the flexible bellows for splits, hardening, or physical tearing.
- If a gasket is damaged, pull the old Dart-style gasket directly out of the groove in the door frame.
- Install the replacement gasket by firmly pressing the dart profile back into the door groove until seated evenly.
Door Hinges and Condensate Drain Lines
Routine maintenance requires checking the door alignment and keeping condensate pathways completely clear.
If the door begins to sag or loosen, the hinge bracket mounting screws must be tightened immediately to avoid structural damage.
Condensate drain lines must be kept free of obstructions to prevent water backing up and overflowing the drain pans.
Proper drainage requires confirming that the drain line is connected to the evaporator drain pan and that the unit sits level.
- Examine the door hanging alignment to check for any sagging or loose hinge movement.
- Tighten the mounting screws that secure the hinge brackets to the unit frame if sagging is observed.
- Verify that all condensate drain lines are clear of blockages and properly routed into the evaporator drain pan.
- Check that the freezer is situated on a level surface so that condensate flows freely away from interior compartments.
Stop and get help if
- Stop immediately and disconnect the electrical power supply if electrical components near the condenser coil are exposed to water.