



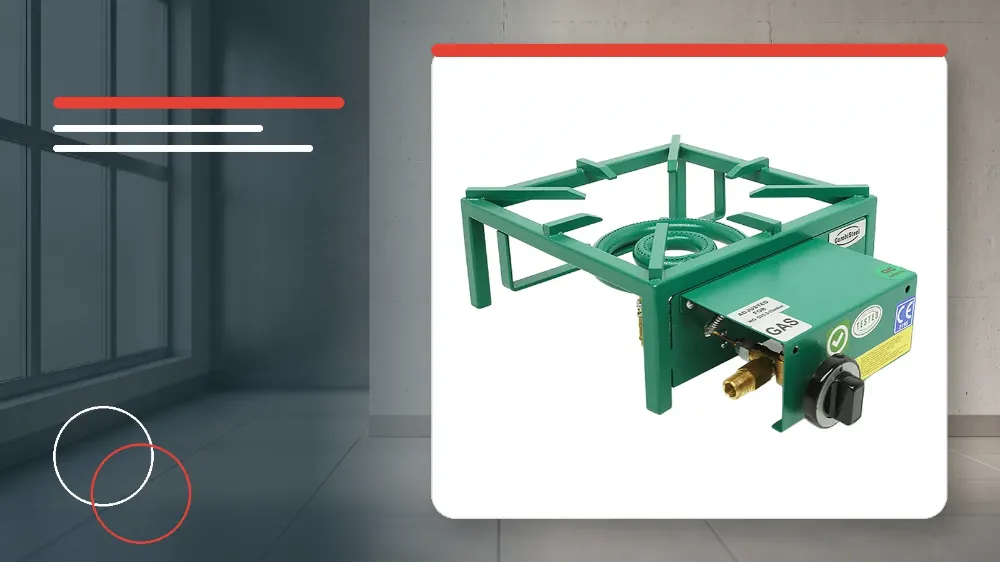
To operate the Combisteel 7178.1225 tabletop gas wok burner, open the main gas isolation valve, turn the burner gas control knob to the lighter symbol, ignite the burner using a lighter, and hold the control knob pressed inwards for a minimum of ten seconds to warm the safety thermocouple.
Applies to
This operational guidance applies directly to the Combisteel 7178.1225 commercial tabletop gas wok burner.
Before you start
- Verify that the main gas supply line valve connected to the appliance is turned to the fully open position before attempting ignition.
- When putting the unit into service for the first time, keep the control button pressed at the burner flame position for a period before ignition to discharge trapped air from the gas installation pipework.
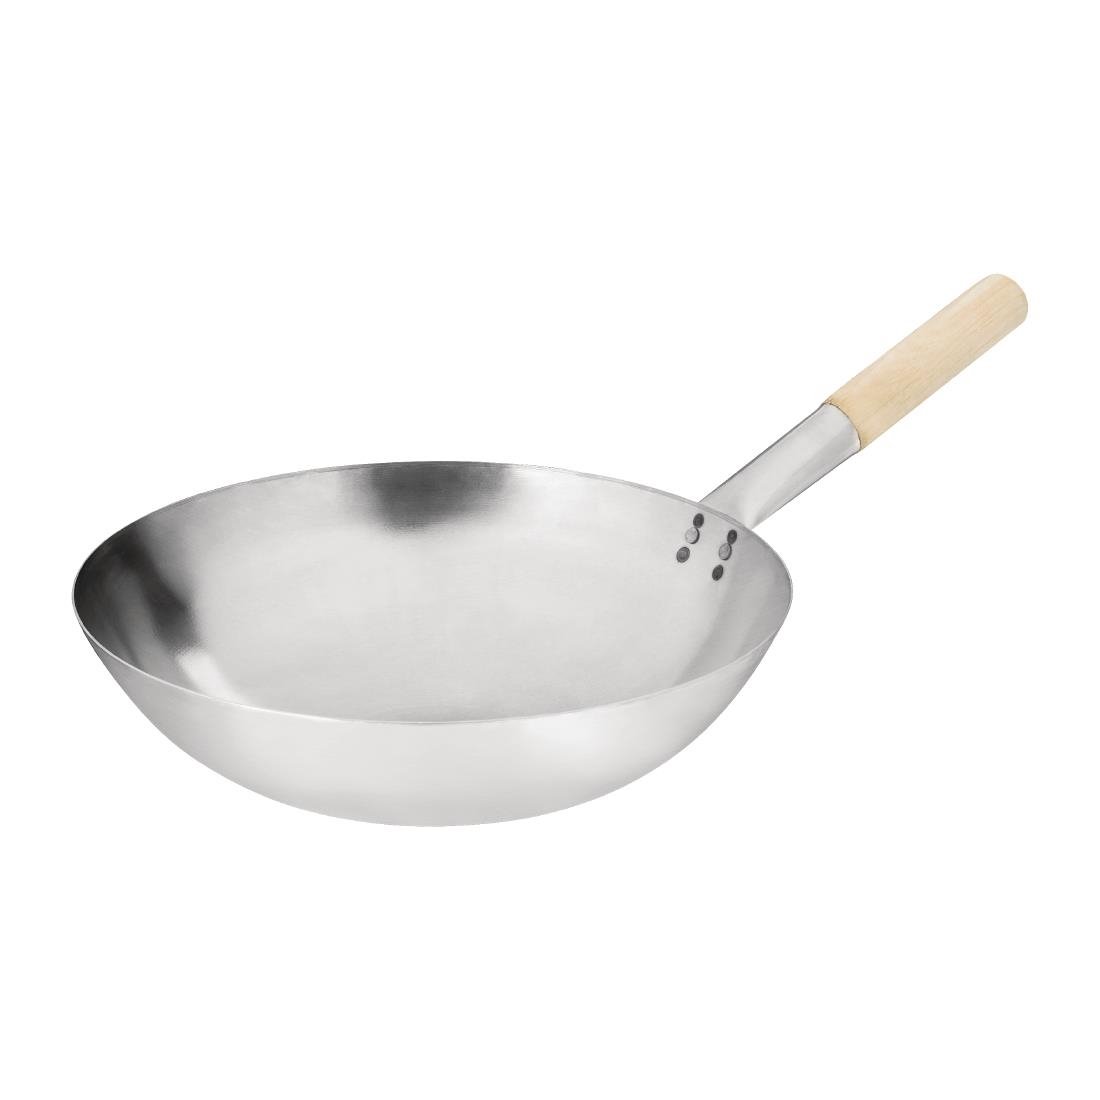
- Ensure that any cookware prepared for service has a base diameter measuring between a minimum of 52 cm and a maximum of 62 cm.
- Confirm that all surrounding work areas are clear and that no unauthorized personnel are permitted to interfere with the gas equipment.
Safety warnings
- Never attempt or allow any gas leakage check to be performed using an open flame.
- Always ensure any gas leak detection is carried out strictly using specialized foam or an approved gas detector device.
- Never perform cleaning, care, or maintenance routines without first closing the main gas supply valve of the device.
- Do not clean the wok burner chassis or burner components using pressurized water jets or steam vapour systems.
- Do not apply scratch-causing abrasive cleaning substances or metallic tools to the appliance surfaces.
Burner Lighting and Thermocouple Engagement Procedure
Safe ignition of the commercial gas wok burner requires following a precise mechanical sequence to ensure smooth gas delivery and flame stability.
Holding the control button depressed ensures that the safety thermocouple tip reaches sufficient operating temperature to keep the internal safety gas valve open.
- Open the main external gas supply valve leading to the appliance.
- If operating the appliance for the very first time, keep the control button pressed down at the burner flame position for a period prior to lighting to expel residual air from the gas lines.
- Turn the burner gas control knob directly to the lighter position symbol.
- In this lighter position, ignite the gas issuing from the burner using an external lighter.
- Immediately after the burner flame ignites, keep the control button firmly pressed inwards for at least 10 seconds to thoroughly heat the safety thermocouple end.
- Release the control button gently and observe that the burner flame remains established and stable.
Flame Modulation and Combustion Air Adjustment
Once the safety thermocouple has been adequately heated, kitchen staff can regulate the heat output between defined operational levels.
Proper flame combustion produces an efficient heating pattern, and improper combustion characteristics can be corrected mechanically using the dedicated burner adjustment components.
- Rotate the burner gas control knob towards the high flame setting to achieve maximum operational heat output.
- Rotate the burner gas control knob towards the low flame setting when simmering or reducing cooking heat.
- Inspect the visual quality of the burner flame during active combustion under standard kitchen ventilation.
- If an incorrect flame profile persists after verifying supply pressures and injector parameters, adjust the flame by turning the burner air adjustment sleeve in the indicated arrow directions.
- Position a suitable commercial wok or cooking pan with a diameter of at least 52 cm and no larger than 62 cm securely over the burner grid.
Safe Daily Shut-Down Procedure
Shutting down the wok burner correctly isolates the gas supply within the internal valve mechanism to prevent unintentional gas accumulation.
Completing the two-stage dial rotation returns the burner safely to its non-operational state.
- Turn the burner gas control knob back from the operational flame level to the lighter position symbol.
- Turn the gas control knob fully to position 0 to extinguish the burner and shut down the device completely.
- Turn the main incoming gas isolation valve to the closed position if the unit is no longer required for service.
Cleaning, Surface Care, and Long-Term Preservation
Routine cleaning prevents grease build-up and ensures hygiene across catering work surfaces.
Applying protective coatings during extended seasonal shutdowns preserves external metal finishes against ambient humidity.
- Close the main gas isolation valve before undertaking any cleaning or surface maintenance.
- Wipe the exterior of the appliance using a clean cloth immersed in warm soapy water before the body cools down completely.
- Avoid using high-pressure water hoses, direct steam vapour, scratch-causing chemical compounds, or abrasive scouring pads.
- If the appliance is scheduled to remain out of service for an extended period, apply a thin protective layer of Vaseline across the external surfaces.
Stop and get help if
- Stop operation immediately if a dangerous condition or gas escape is detected around the appliance.
- Stop operation immediately if open flames or uncontrolled ignition sources are brought near suspected gas leakage zones.
- Stop operation immediately if any component that affects operational safety shows damage or requires mechanical replacement.
When to call an engineer
- Call an authorized service technician immediately whenever any dangerous operating condition arises with the device.
- Escalate to authorized service personnel to perform any part replacement that may affect the safety of the appliance.
- Contact an authorized service technician to conduct mandatory gas leak detection tests using foam or an electronic detector following internal repairs or part renewals.