





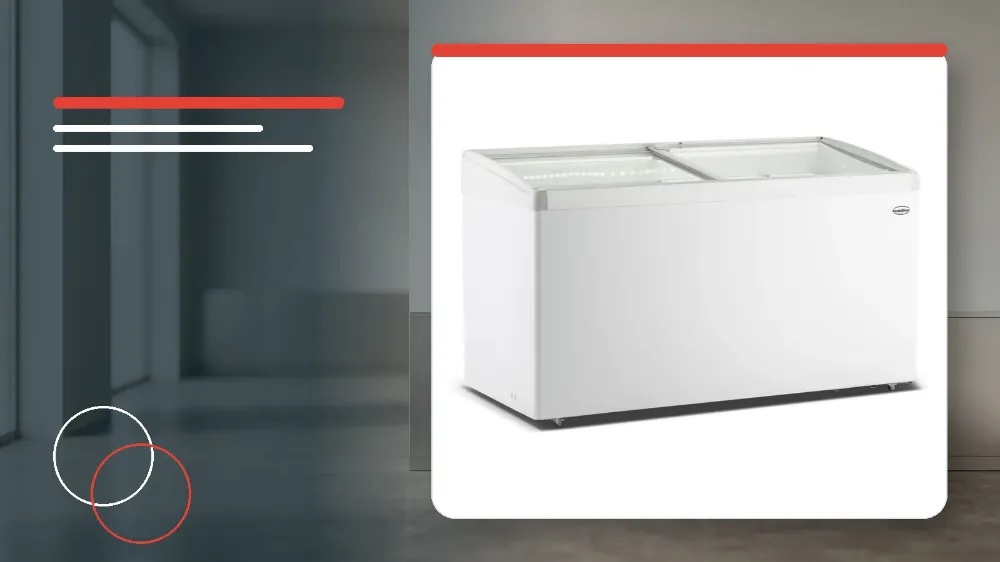
To safely defrost and clean the Combisteel 7086.0040 glass-lid chest freezer, switch off and unplug the unit, remove all stored goods, allow frost to soften, and clear the ice using only the dedicated defrost shovel while directing meltwater through the open cabinet and shell drain outlets.
Applies to
This operational guide applies specifically to the Combisteel 7086.0040 commercial chest freezer model.
Before you start
- Inspect the inner walls of the freezer cabinet to verify whether the accumulated frost thickness has reached 5 to 7 millimetres.
- Always isolate the unit from electrical power by disconnecting the power plug from the wall socket before beginning any cleaning or defrosting tasks.
- Prepare dedicated soft wiping cloths, a neutral cleaning agent mixed with warm water, and clean rinsing water.
- Prepare a specialised door seal cleaning solution consisting of bleach diluted with ten parts water.
- Ensure you have the designated plastic defrosting shovel ready and do not retrieve any sharp metal implements.
Safety warnings
- Never use metal-edged tools or electrical heating tools to defrost the freezer, as doing so may cause severe damage to the internal evaporator.
- Do not clean the inner cabinet or outer casing with hot water, corrosive cleaning agents, or organic cleaning solvents.
- You must wait a minimum of 5 minutes before restarting the appliance after switching it off or following an electrical power cut, as immediate restarting will shorten compressor operating life or cause compressor damage.
- Do not attempt to perform technical repairs on the refrigeration appliance yourself if an operating issue cannot be resolved by following the instruction manual.
Defrosting Threshold and Cabinet Drainage Setup
Periodic defrosting is required to maintain efficient cooling and refrigeration performance inside the commercial chest freezer.
Defrosting must be performed whenever the layer of frost on the internal cabinet surfaces accumulates to a thickness between 5 mm and 7 mm.
The appliance features an integrated internal drain hole and an exterior drainage port designed to route meltwater away from the cabinet.
- Switch off the appliance switch and unplug the electrical power cord from the mains supply.
- Remove all stored frozen food items from the chest freezer interior and transfer them to temporary cold storage.
- Open the freezer lid and allow ambient air to soften the ice layer inside the cabinet.
- Open the interior drain hole situated at the bottom of the cabinet.
- Open the external drain cover located on the outer shell of the freezer body.
- Allow all defrost meltwater to flow out freely through the internal drainage pipe.
- Scrape away the softened ice buildup using only the special defrosting shovel.
Cabinet Cleaning and Door Gasket Sanitisation
Routine sanitising and cleaning prevents contamination and protects interior and exterior freezer finishes from deterioration.
Only mild neutral detergents mixed in warm water applied with soft cloths are permitted on internal liners and exterior painted surfaces.
Maintaining clean lid seals ensures an airtight closure and prevents premature frost formation along the cabinet rim.
- Confirm that the freezer remains disconnected from the mains power supply before washing surfaces.
- Wash the interior cabinet walls and exterior shell using a soft cloth dampened with warm water and neutral detergent.
- Wipe the flexible door seal using a cleaning solution of bleach diluted with 10 times water.
- Rinse away all remaining bleach residues from the door seal using a clean cloth and clear water.
- Thoroughly wipe away all remaining moisture and standing defrost water from inside the cabinet.
- Securely replace and close the external drain cover on the outer freezer shell.
Post-Maintenance Inspection and Safe Restart
Rigorous electrical and mechanical checks must be conducted following maintenance to ensure safe commercial operation.
The refrigeration system requires adequate recovery time before full stock loading can occur safely.
- Check the power supply cord along its entire length to verify there is no cranny or nick in the insulation.
- Ensure that at least 5 minutes have elapsed since the unit was powered off before reconnecting the mains plug.
- Insert the plug firmly into the mains electrical socket and verify a secure, positive electrical connection.
- Switch on the appliance and verify initial operation.
- Check that the electrical plug does not become abnormally hot during running.
- Allow the empty cabinet to chill until the internal cabinet temperature reaches the target set operating temperature.
- Reload the stored goods back into the freezer cabinet only after the set temperature is fully reached.
Extended Shutdown and Storage Procedure
When the freezer will not be utilised for an extended period, specific decommissioning steps prevent mould growth and component degradation.
- Switch off the appliance switch and disconnect the plug from the wall outlet before stopping operation for a long time.
- Fully clean all interior surfaces, exterior panels, and door gaskets with neutral detergent and warm water.
- Leave the appliance to dry thoroughly for some days before closing it up or storing it.
Stop and get help if
- Stop using the freezer immediately and disconnect the mains power supply if you discover any nick or cranny on the power cord.
- Stop operation immediately if the electrical plug feels abnormally hot to the touch during use.
- Cease all operator intervention immediately if an operational fault cannot be resolved using the supplied instruction manual.
When to call an engineer
- Contact your authorised equipment dealer if any operational problem cannot be handled according to the instruction manual.
- Contact your dealer to arrange qualified technical service rather than attempting to repair the freezer cabinet or electrical components by yourselves.