
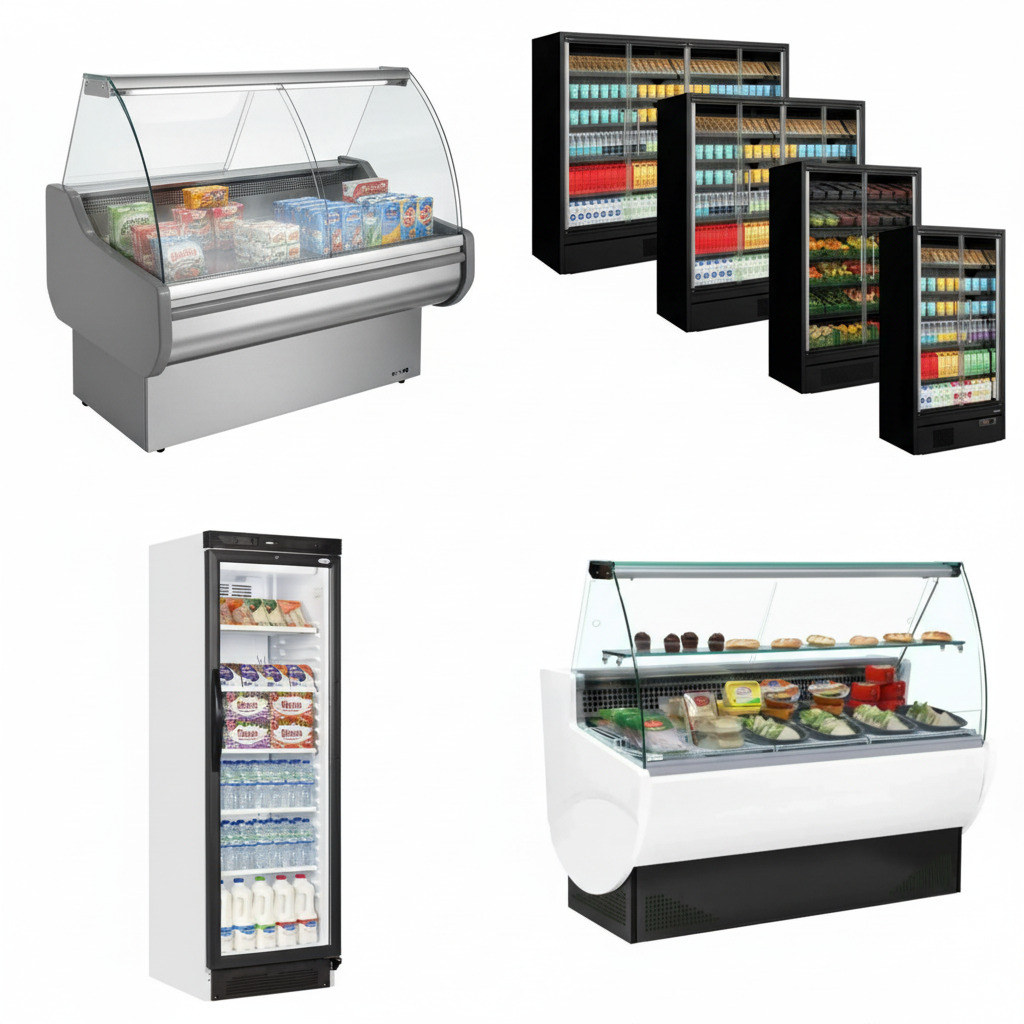

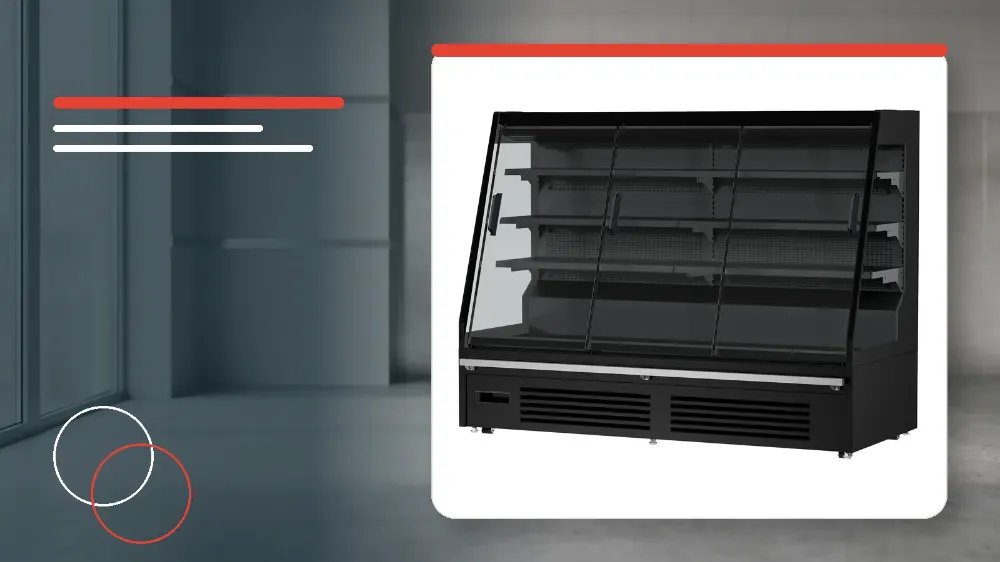
To set up, run, and clean your Combisteel 7080.0035 display cooler properly, position the unit with more than 10 cm of wall clearance, clean and pre-cool the empty interior for approximately 1 hour, observe the 30 kg shelf limit without placing goods on the cabinet base, and always disconnect the mains plug before wiping down surfaces with a soft damp cloth.
Applies to
This operational guide applies specifically to the Combisteel 7080.0035 refrigerated display cooler.
Before you start
- Inspect the planned site to confirm you can maintain more than 10 cm of clear space between the back or sides of the unit and any adjacent wall.
- Remove all transit packaging and securing tape from the cabinet before starting commissioning.
- Open the cabinet doors fully to allow the interior compartment to ventilate thoroughly prior to first use.
- Clean the interior compartment once with a soft cloth before connecting the equipment to mains power.
Safety warnings
- Always disconnect the power cord plug from the wall outlet before undertaking any cleaning work to prevent electrical shock hazards and physical injury from the rotating internal circulation fan.
- Never splash water directly onto the cabinet and never wash the exterior or interior with running water, as moisture ingress creates severe short-circuit risks.
- Never use polishing powder, soap powder, gasoline, oil, or hot water on the unit, because these harsh substances permanently damage exterior paintwork and plastic components.
- Do not throw food items onto the shelves and never exceed a total loading weight of 30 kg on any individual shelf.
Unit Placement and Initial Commissioning
Correct ventilation spacing is essential to ensure the refrigeration system operates at full cooling capacity.
Failing to leave adequate clearance behind and around the unit will directly degrade the cooler's performance and refrigeration efficiency.
- Position the showcase in a well-ventilated location, ensuring more than 10 cm of open space is maintained between the unit and the wall.
- Strip away all shipping packaging materials, external wrap, and internal securing tape.
- Leave the showcase doors open to ventilate the empty interior thoroughly.
- Wipe down the internal compartment once using a soft cloth before power is applied.
- Insert the electrical power cord plug firmly into a dedicated wall outlet.
- Allow the empty cooler to run continuously for approximately 1 hour to pull down to operating temperature before introducing food or beverage stock.
Stocking Rules and Shelf Loading Limits
Adhering to strict weight limits and loading boundaries protects the internal structure and guarantees unhindered cold air circulation across stored items.
Improper placement of stock on unapproved interior surfaces obstructs airflow channels and risks merchandise spoilage.
- Place all merchandise directly onto the adjustable wire shelves rather than resting items across the bottom base of the cabinet.
- Ensure that product displays never extend past the designated loading line within the cabinet.
- Load products carefully onto shelves without dropping or throwing heavy containers onto the wire grids.
- Distribute stock so that the total weight placed on any single shelf never exceeds 30 kg.
Cabinet Cleaning and Maintenance Procedures
Routine hygiene maintenance must be conducted using non-abrasive methods to avoid scratching surface finishes or damaging internal mechanisms.
Electrical isolation is a mandatory safety safeguard before reaching inside the cabinet near the circulation fan assembly.
- Unplug the mains power supply cord from the electrical socket before initiating any cleaning routine.
- Wipe over the exterior body and the interior compartment surfaces using a clean, soft, dry cloth.
- Treat stubborn stains or heavy soil by wiping the affected areas with a soft cloth moistened with neutral detergent.
- Follow detergent cleaning immediately with a soft cloth dipped in clean water and thoroughly wrung out.
- Refrain entirely from using soap powders, scouring powders, petrol, oils, or boiling water on any part of the cooler.
Post-Cleaning Inspection and Reconnection
A thorough visual and tactile check of the electrical connection must be executed every time the appliance is cleaned and reconnected.
These post-cleaning checks eliminate fire risks associated with damaged cabling or poorly seated electrical plugs.
- Inspect the entire length of the flexible power cord for visible cracks, splits, or structural damage.
- Insert the mains plug firmly into the dedicated wall socket.
- Touch the plug after the machine has resumed operation to confirm it is not running abnormally hot.
Temperature Controller Operation and Error Troubleshooting
The electronic temperature controller is calibrated at the factory to maintain correct display refrigeration parameters.
Operators must not alter the programmed temperature controller parameters without specific professional guidance.
- Monitor the digital controller screen during everyday service to verify that normal cooling temperatures are maintained.
- Leave the factory temperature configuration intact unless adjustments are directed by certified technical personnel.
- If the digital display indicates an E0 or E1 error code, unplug the power cord from the wall outlet.
- Re-plug the unit, and if the E0 or E1 error code persists on the display, request service from an authorised technician.
Stop and get help if
- Stop using the display cooler immediately and disconnect it from the electrical socket if any cracks or physical damage are found on the power cord.
- Cease operation immediately if the electrical power plug becomes abnormally hot during use.
When to call an engineer
- Contact the equipment dealer immediately if the slightest irregularity, cracking, or damage is detected on the power cord or plug assembly.
- Contact an authorised service technician if the digital temperature controller continues to display error code E0 after the unit has been unplugged and reconnected.
- Call an authorised service technician if error code E1 persists on the controller display after power cycling the unit.
- Request professional technical support before attempting any modification of the factory temperature controller settings.