







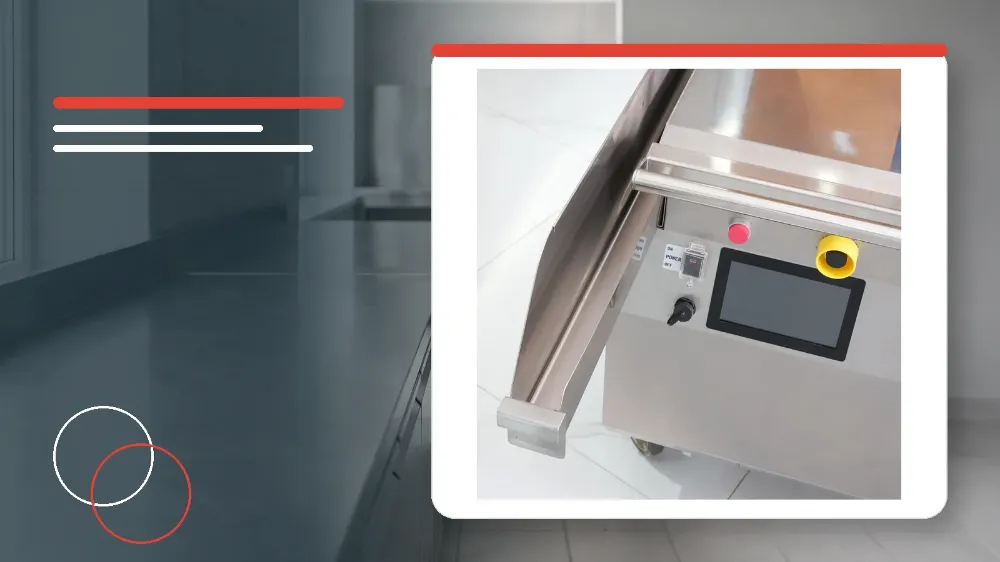
To operate the Chefsrange JPJL-01, tap the standby screen to access the main interface, choose one of thirty-three programmes across three menu pages, wait for the five-zone temperature indicator to turn green, and press the standby button to run the automated cycle.
Applies to
This procedure applies specifically to trained operators using the Chefsrange JPJL-01 single-head double-sided clam griddle combo.
Before you start
- Verify that you are an authorised operator with dedicated training and sufficient working knowledge of this equipment before touching the interface.
- Confirm that the griddle is supplied with the correct rated AC380V/50Hz electrical supply prior to daily kitchen operation.
- Ensure that the surrounding operating area is unobstructed so that the moving upper plate can travel freely.
- Check that the touch screen is powered on and presenting the initial standby interface screen.
Safety warnings
- This appliance must only be operated by dedicated personnel and is strictly not designed for use by individuals under working age or those with physical or mental disabilities.
- Never attempt to disassemble, modify, or repair any part of the unit yourself.
- Keep hands and utensils clear of the mechanism when the upper plate automatically lifts at the end of a cooking programme.
- Do not attempt to force a cooking cycle to start when the system displays an out-of-range temperature warning.
Powering On and Interface Access
The Chefsrange JPJL-01 control system utilises a digital touch screen interface designed for straightforward workflow management during service.
Once power is supplied to the machine, the controller loads an initial standby display.
Operators must tap the standby screen to activate the primary working interface before choosing any cooking parameters.
- Confirm that the main isolator is energised to power up the appliance display.
- Click anywhere on the standby interface screen to enter the main working interface.
Selecting Menus and Verifying Plate Temperatures
The JPJL-01 controller stores thirty-three pre-configured cooking menus organised across three distinct pages.
Three dedicated page switching buttons located in the top-left corner allow kitchen staff to navigate smoothly between menu pages.
A dedicated temperature icon on the right side of the screen monitors five separate heating zones distributed across the upper and lower plates.
A red indicator shows that the zone temperature is too low for the selected item.
A yellow indicator shows that the zones are approaching operating temperature.
A green indicator confirms that the required operating temperature has been reached across all zones and the unit is ready for cooking.
- Use the top-left page buttons to navigate to the page containing your desired product programme.
- Click on your chosen menu item on the screen when no item is currently active.
- Observe the 5-zone status icon on the right-hand side of the screen to monitor thermal readiness.
- Wait until the status display transitions completely from red or yellow to green before initiating food placement.
Executing the Cooking Cycle
The controller incorporates built-in interlocks to prevent cooking at incorrect plate temperatures.
If you press the Standby button while temperatures are out of range, the system ignores the press and displays the pop-up warning 'Temperature too low or too high'.
Once green readiness is established, pressing the Standby button on the device initiates the automated cooking sequence.
During an active cycle, the display shows the live working stage, including grilling, flipping, or removing, together with an active countdown timer.
- Load food onto the cooking surface only after the temperature indicator shows solid green.
- Press the physical Standby button on the device to begin the automated cooking cycle.
- Monitor the screen during cooking to track the countdown timer and stage indicators such as grilling or flipping.
Cycle Completion, Manual Cancellation, and Diagnostic Checks
Upon cycle completion, an audible buzzer sounds, the upper plate automatically rises, and the screen displays the prompt 'Done'.
Pressing the standby button after a finished batch immediately starts the next cooking cycle under the active menu.
Operators can cancel an active cooking cycle at any time by pressing the dedicated raise button, which immediately lifts the upper plate.
Trained personnel can click the top-right corner of the interface to open the details screen to review menu details and real-time temperatures for each of the five zones.
Clicking the top-right corner a second time exits the diagnostic view and returns to the standard operating interface.
- Remove cooked food safely when the buzzer sounds and the upper plate completes its automatic rise.
- Press the standby button again if you wish to run another cooking batch immediately.
- Press the raise button at any point during active cooking if you need to abort the cycle and elevate the top plate.
- Tap the top-right corner of the touch panel to inspect real-time zone temperatures whenever operational abnormalities occur.
- Tap the top-right corner again to close the diagnostic screen and return to normal operation.
Stop and get help if
- Stop operation immediately and press the raise button if an abnormality occurs during a cooking cycle.
- Do not attempt to start a cycle if the screen repeatedly displays the pop-up warning 'Temperature too low or too high'.
- Halt use immediately if unqualified or untrained personnel are assigned to the machine.
When to call an engineer
- Contact the supplier or authorised service support if the unit requires internal adjustments, mechanical repairs, or electrical maintenance.
- Call an authorised service technician if diagnostic temperature readings across the five zones indicate ongoing heating or sensor faults.