





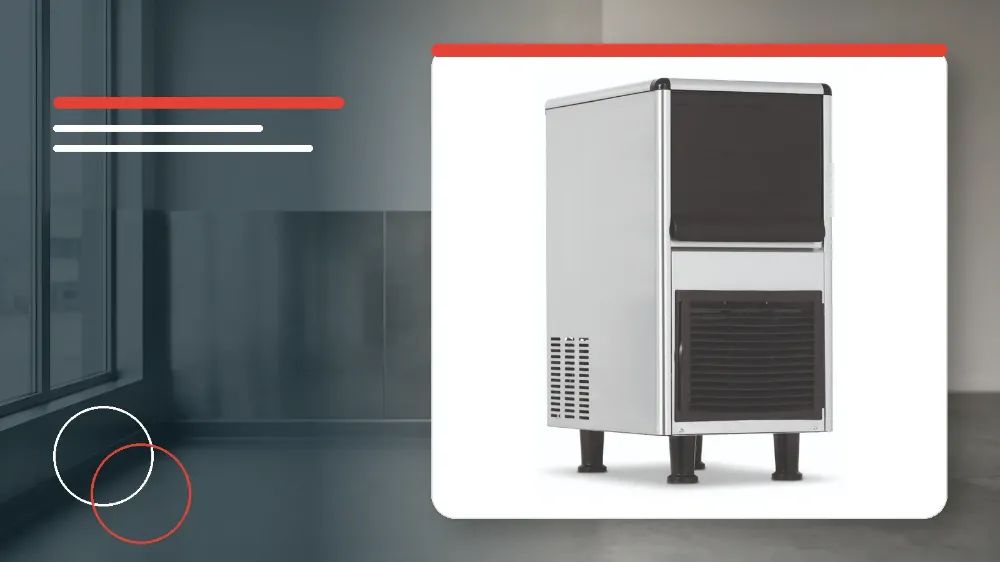
To run the automated cleaning and rinsing cycle on your Blizzard BIM25 ice maker, empty all ice from the storage bin, hold the Clean button for 3 seconds, drain the sink by removing the silicone plug, reinsert the plug, add your cleaning or disinfectant solution, short-press the Clean button to execute the 15-minute wash cycle, allow the 25-minute continuous water rinse to complete, drain residual water, and discard the first 5 plates of freshly harvested ice.
Applies to
This operational procedure applies exclusively to the Blizzard BIM25 commercial ice maker model.
Before you start
- Ensure that the ice storage bin has been completely emptied of all ice cubes in advance to avoid chemical contamination of your ice supply.
- Prepare the appropriate cleaning or disinfection solution in a quantity equal to the total liquid capacity of the internal sink before initiating the cycle.
- Make sure that the water supply to the appliance is turned on and ready to supply continuous water for the post-wash rinsing cycle.
Safety warnings
- Before performing any manual maintenance or physical cleaning inside the appliance, you must cut off the electrical power supply and water source completely.
- Do not spray or flush water directly onto the parts positioned above the water pump or the evaporator during bin interior cleaning in order to maintain water ingress protection.
- You must strictly discard the first 5 plates of ice produced after completing the cleaning or disinfection sequence to uphold commercial food hygiene standards.
Preparation and Sink Drainage
Before initiating the automated clean cycle, all harvested ice cubes must be removed from the ice storage bin to prevent chemical exposure.
The internal water sink must be completely emptied of standing water before any fresh cleaning chemical or sanitising agent is introduced into the machine.
- Turn on the ice machine and verify that all ice cubes have been removed from the internal ice bucket.
- Press and hold the Clean button on the control panel for 3 seconds until the digital tube display begins flashing the CLE indicator.
- Pull the silicone plug of the internal sink downwards to discharge all remaining standing water from the reservoir.
- Firmly reinsert the silicone plug back into the drain hole once the sink has completely emptied.
Executing the 15-Minute Automated Cleaning Cycle
The Blizzard BIM25 features a timed internal circulation program that distributes the cleaning chemical across internal water circuits for 15 minutes.
During this automated cleaning phase, the digital tube display provides visual confirmation by showing the solid CLE operational status.
- Pour the prepared cleaning solution into the sink in an amount equivalent to the total capacity of the reservoir.
- Short-press the Clean button once to engage the automated cleaning mode.
- Allow the appliance to complete the full 15-minute internal circulation cycle while the display shows CLE.
Automated 25-Minute Rinsing Cycle
Once the 15-minute wash cycle finishes, the ice maker immediately transitions into an automated continuous water rinse mode.
The water inlet valve opens repeatedly to flush fresh water through the internal waterways for a continuous duration of 25 minutes.
- Observe the digital display to confirm that the machine has switched from CLE to the rin status.
- Allow the continuous 25-minute water flush to run automatically to purge all residual cleaning chemicals from the internal components.
- Spray the ice tray using a clean watering can or sanitising spray bottle while the 25-minute rinse cycle is actively running.
Final Draining, Resetting, and Food Safety Discard
After the automated rinse sequence terminates, the appliance must be drained of residual rinse water before regular ice manufacturing is resumed.
Disposing of the first 5 harvests of ice ensures that no diluted chemical traces or mineral residues contaminate food-grade ice served in your commercial premises.
- Press the Switch button once the rinse mode has concluded to prepare the machine for post-clean draining.
- Pull the silicone plug of the sink downwards to drain all remaining undrained water completely out of the machine.
- Reinsert the silicone plug securely into the sink drain opening after all liquid has evacuated.
- Press the Switch button again to restart the appliance and return it to normal ice-making operation.
- Carefully collect and discard the first 5 full plates of harvested ice before serving ice to customers or staff.
Disinfection Cycle Parity and Manual Abort Controls
When periodic sanitisation is required, the disinfection procedure follows the exact same mechanical sequence as cleaning, differing only in the chemical medium placed in the sink.
If an operator needs to cancel the active cleaning or disinfection program prematurely, the machine incorporates a manual control override.
- Use an approved food-safe disinfecting medium in the sink and follow the identical button inputs and rinse timings as the standard cleaning cycle.
- Long-press the Switch button at any point during active cleaning if you need to forcibly exit the cleaning program and return the machine to standby mode.
Stop and get help if
- Long-press the Switch button immediately to forcibly terminate the cleaning cycle and return the unit to standby mode if the sequence must be halted.
- Cut off the power supply and shut off the water inlet immediately if direct manual cleaning or interior maintenance is required.